A kitchen backsplash protects the wall behind your stove and sink from splashes and stains, but the material and layout you choose do most of the work in setting your kitchen's overall style. The ten ideas below cover the materials and layouts homeowners actually choose — what each one costs, how it holds up, and which kitchens it fits best — not just a mood board of finished photos.
- Classic Subway Tile
- Mosaic Tile
- One-Piece Stone Slab
- Peel-and-Stick Tile
- Reclaimed Wood
- Glass Tile
- Full-Height, Countertop-to-Ceiling
- Bold Pattern or Hand-Painted Tile
- Minimalist Monochrome
- Natural Rock or Stone Texture
- What Backsplash Installation Costs
- Frequently Asked Questions
Classic Subway Tile
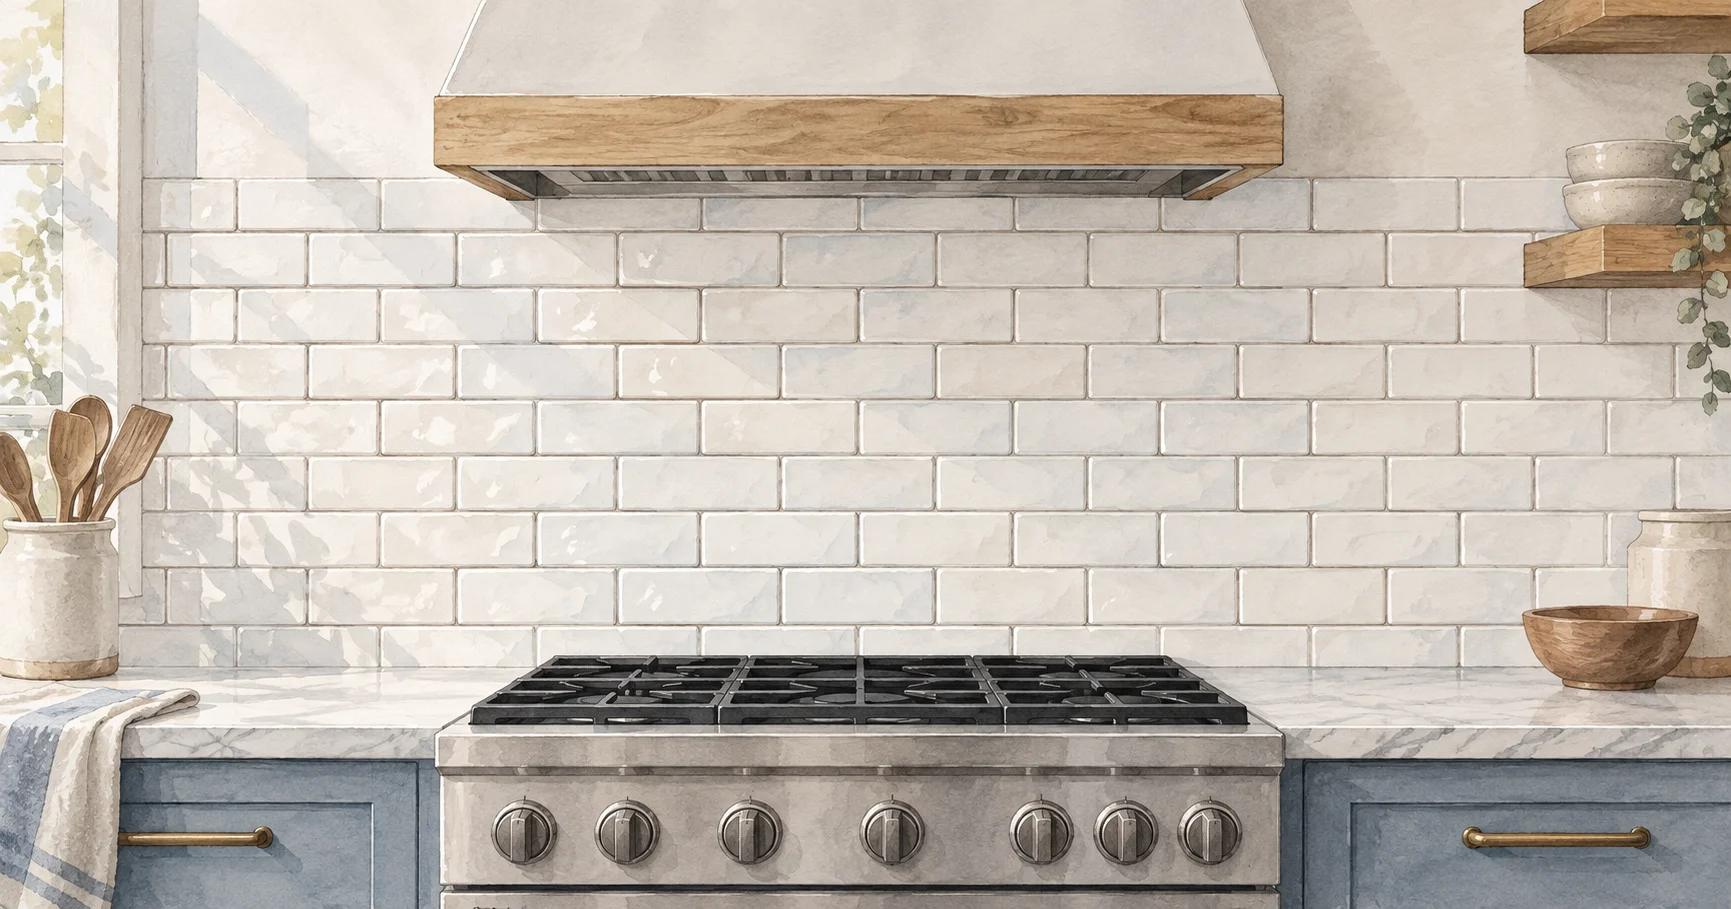
Rectangular ceramic or porcelain subway tile remains the most common backsplash choice because it works in almost any kitchen style — traditional, modern, or somewhere between. Laid in a standard running-bond pattern it reads as timeless; switched to a herringbone or vertical stack, the same tile reads as a deliberate design choice rather than a default. Grout color does more here than most homeowners expect: matching grout keeps the wall visually quiet, while a contrasting dark grout makes each tile's edge a visible part of the pattern.
Mosaic Tile
Mosaic backsplashes use small individual tiles, often glass or a glass-and-stone blend, set edge to edge to build intricate patterns across the wall. The tiles typically come pre-mounted on mesh sheets, but the installer still has to align each sheet carefully so the grout lines run continuous across sheet boundaries — the labor-intensive part of an otherwise straightforward tile job. That extra labor is why mosaic backsplashes cost more per square foot than subway tile of a similar material, even before accounting for the tile itself.
One-Piece Stone Slab
A single slab of granite, marble, or quartzite installed as the backsplash gives a seamless look with no grout lines at all — the same material as the countertop often continues straight up the wall. Because the slab has to be measured, cut, and transported as one heavy piece, professional installation isn't optional the way it can be with tile. The upside is a genuinely low-maintenance surface once it's sealed: no grout lines means nothing to periodically reseal or scrub separately from the countertop. The NKBA Kitchen Planning Guidelines cover the clearance and countertop-height standards a slab installer needs to work around.
Peel-and-Stick Tile
Peel-and-stick backsplash tile comes with adhesive already applied, so installation is close to a one-day DIY project: clean the wall, measure, cut the tile to fit outlets and corners, and press it into place. It's the least expensive option on this list and the easiest to change again later, which makes it a reasonable choice for a rental, a starter home, or anyone testing a style before committing to tile. The trade-off is durability — peel-and-stick material handles heat and years of wear worse than ceramic, porcelain, or stone, so it tends to get replaced sooner.
Reclaimed Wood
Reclaimed barn wood or salvaged shiplap brings a warm, textured look that reads as farmhouse or rustic more than any tile pattern can. It needs a sealed, wipeable finish behind a stove specifically — raw wood absorbs grease and moisture in exactly the spot where a backsplash does the most work — so this is a look best confined to a lower-splash area like behind a sink or open counter rather than directly behind cooktop.
Glass Tile
Glass tile backsplashes reflect light in a way ceramic and stone don't, which makes a kitchen with limited natural light feel brighter and larger than it is. The surface wipes clean easily and resists staining, but installers need tile-specific glass cutters and adhesives — a standard ceramic-tile setup doesn't always transfer directly, so it's worth confirming a contractor has glass-tile experience specifically before hiring for this material.
Full-Height, Countertop-to-Ceiling
Extending the backsplash from the countertop all the way to the upper cabinets or ceiling, instead of stopping a few inches above the counter, has become one of the more common upgrades in a full kitchen remodel. It reads as more dramatic and higher-end, and it also eliminates the awkward strip of painted drywall that a partial-height backsplash otherwise leaves between the tile and the cabinets. The trade-off is straightforward: more material and more labor, since the installed area roughly doubles or triples compared to a standard 18-inch backsplash.
Bold Pattern or Hand-Painted Tile
Cement tile, encaustic patterns, and hand-painted ceramic bring color and pattern into a kitchen that would otherwise rely entirely on cabinet and countertop color for personality. Because a bold pattern becomes the room's focal point, it works best paired with simpler cabinetry and countertops rather than competing with another statement material in the same room — the same reasoning behind choosing a kitchen accent wall instead of pattern on every surface. Cement tile in particular needs periodic sealing to resist staining, since it's more porous than glazed ceramic.
Minimalist Monochrome
A minimalist backsplash — plain, single-color tile or a slab that extends just a few inches above the counter — keeps the wall visually quiet so other elements like cabinetry, hardware, or a statement range hood carry the room's design instead. It's a common choice in smaller kitchens specifically because an understated backsplash doesn't compete with a limited amount of visual space, making the room feel less crowded than a busier pattern would.
Natural Rock or Stone Texture
Rock-faced or heavily textured natural stone brings an organic, earthy look distinct from a polished slab or uniform tile. Because the surface itself is textured, it holds onto grease and cooking residue more than a smooth material does, so it needs more frequent cleaning to stay looking intentional rather than dingy — worth weighing against how often the kitchen actually gets used for cooking rather than just how the material photographs.
Order backsplash tile with 10-15% extra material beyond the measured square footage. Cut waste, pattern-matching at corners, and breakage during installation are normal, and matching a discontinued tile batch later is often impossible.
What Backsplash Installation Costs
Material drives most of the cost difference on this list. Peel-and-stick tile is the least expensive and can be a same-day DIY project; ceramic and porcelain subway tile sit in the middle, with professional installation typically running from the low to mid thousands depending on square footage and pattern complexity; mosaic tile and one-piece stone slabs sit at the top end because of the labor and material involved. Extending a backsplash to full height roughly doubles the material and labor cost of a standard partial-height install regardless of which material is chosen. A backsplash swap is one of the higher-return updates in a kitchen remodel more broadly — the JLC Cost vs. Value Report tracks resale return by project type nationally each year.
For homeowners in Rosemount working with an older kitchen, a backsplash update is often one of the highest-impact changes that doesn't require touching plumbing or cabinet layout — a way to modernize the room's look within a full kitchen remodel or as a standalone project.
At Honey-Doers, choosing a backsplash starts with how the kitchen actually gets used — a household that cooks daily needs a different material behind the stove than one prioritizing a showpiece island — and builds the design decision around that, not the other way around. If you're planning a kitchen remodel and want help narrowing these options down to what fits your space and budget, reach out to our team.
Frequently Asked Questions
What is the most popular kitchen backsplash material?
Ceramic and porcelain subway tile remains the most common choice because it works across a wide range of kitchen styles, costs less than stone or glass, and is durable enough for daily cooking without special maintenance.
Should a backsplash match the countertop?
Not necessarily. A one-piece slab backsplash that continues the countertop material up the wall creates a seamless, high-end look, but many kitchens intentionally pair a simpler countertop with a more decorative tile backsplash, or vice versa, to avoid the room feeling monochromatic.
How much does it cost to install a kitchen backsplash?
Cost depends primarily on material and square footage: peel-and-stick tile can be installed for the cost of materials alone, ceramic or porcelain tile with professional installation typically runs into the low-to-mid thousands, and stone slabs or intricate mosaic work costs more due to material and labor.
Is a full-height backsplash worth the extra cost?
It depends on the kitchen and budget. A full-height backsplash gives a more dramatic, finished look and removes the strip of bare wall a partial-height backsplash leaves above it, but it roughly doubles material and labor costs compared to a standard 18-inch installation.
Can I install a backsplash myself?
Peel-and-stick tile is genuinely DIY-friendly for most homeowners. Ceramic and porcelain tile is a more involved DIY project that requires cutting tile around outlets and corners. One-piece stone slabs and detailed mosaic work should go to a professional installer given the weight, precision, and specialized tools involved.