Most aging-in-place planning focuses on kitchens, entryways, and stairlifts — but the bathroom is where the real risk lives. It's the room most likely to cause a serious injury, and the one that most homeowners wait too long to address. Planning a bathroom remodel specifically for safety and accessibility is one of the highest-impact investments a homeowner can make, and it works best when done proactively rather than after an incident.
- Why Bathroom Safety Matters for Seniors
- Plan Before You Need To
- Key Senior-Friendly Features
- Phased Approach to Remodeling
- Choosing the Right Contractor
- Bathroom Safety Checklist
Why Bathroom Safety Matters for Seniors
Over 80% of senior falls occur in the bathroom, making it one of the most high-risk areas of the home for aging adults. Wet surfaces, small footprints, and obstacles like tub walls or narrow doorways can quickly turn routine activities into dangerous situations. A fall in the bathroom doesn't just cause immediate injury — it often triggers a chain of outcomes that affects independence, living arrangements, and quality of life for years.
The good news is that most of these risks are design problems, and design problems are solvable. A thoughtful bathroom remodel addresses the specific features that cause falls — high tub thresholds, slippery floors, nothing to hold onto — and replaces them with solutions that are both safer and more comfortable to use every day.
In the Twin Cities, many homeowners are dealing with bathrooms in ramblers and split-levels built during the 1950s–70s — homes with small, compartmentalized bathrooms that were never designed with accessibility in mind. If your home fits that profile, the same era of construction that makes ramblers charming also makes them candidates for a targeted bathroom upgrade.
Plan Before You Need To
The best time to remodel for accessibility is before it becomes urgent. Many families only start thinking about a senior-friendly bathroom after a fall or health change — and that leads to rushed decisions, higher costs, and temporary fixes that don't hold up. Planning ahead changes the equation entirely.
When you remodel proactively, you have time to design thoughtfully rather than react. You can phase improvements across a timeline that fits your budget. You can choose features — like blocking in walls for future grab bars, or selecting flooring that accommodates mobility aids — that build in flexibility without locking you into any single configuration today. And you preserve home value: accessible bathrooms appeal to a wide range of buyers, not just seniors. The upgrades pay forward.
Key Senior-Friendly Features
Six features make the most meaningful difference in a senior-friendly bathroom. Each addresses a specific risk or limitation, and most can be incorporated into a remodel that looks nothing like a clinical or institutional space.
1. Walk-In Shower
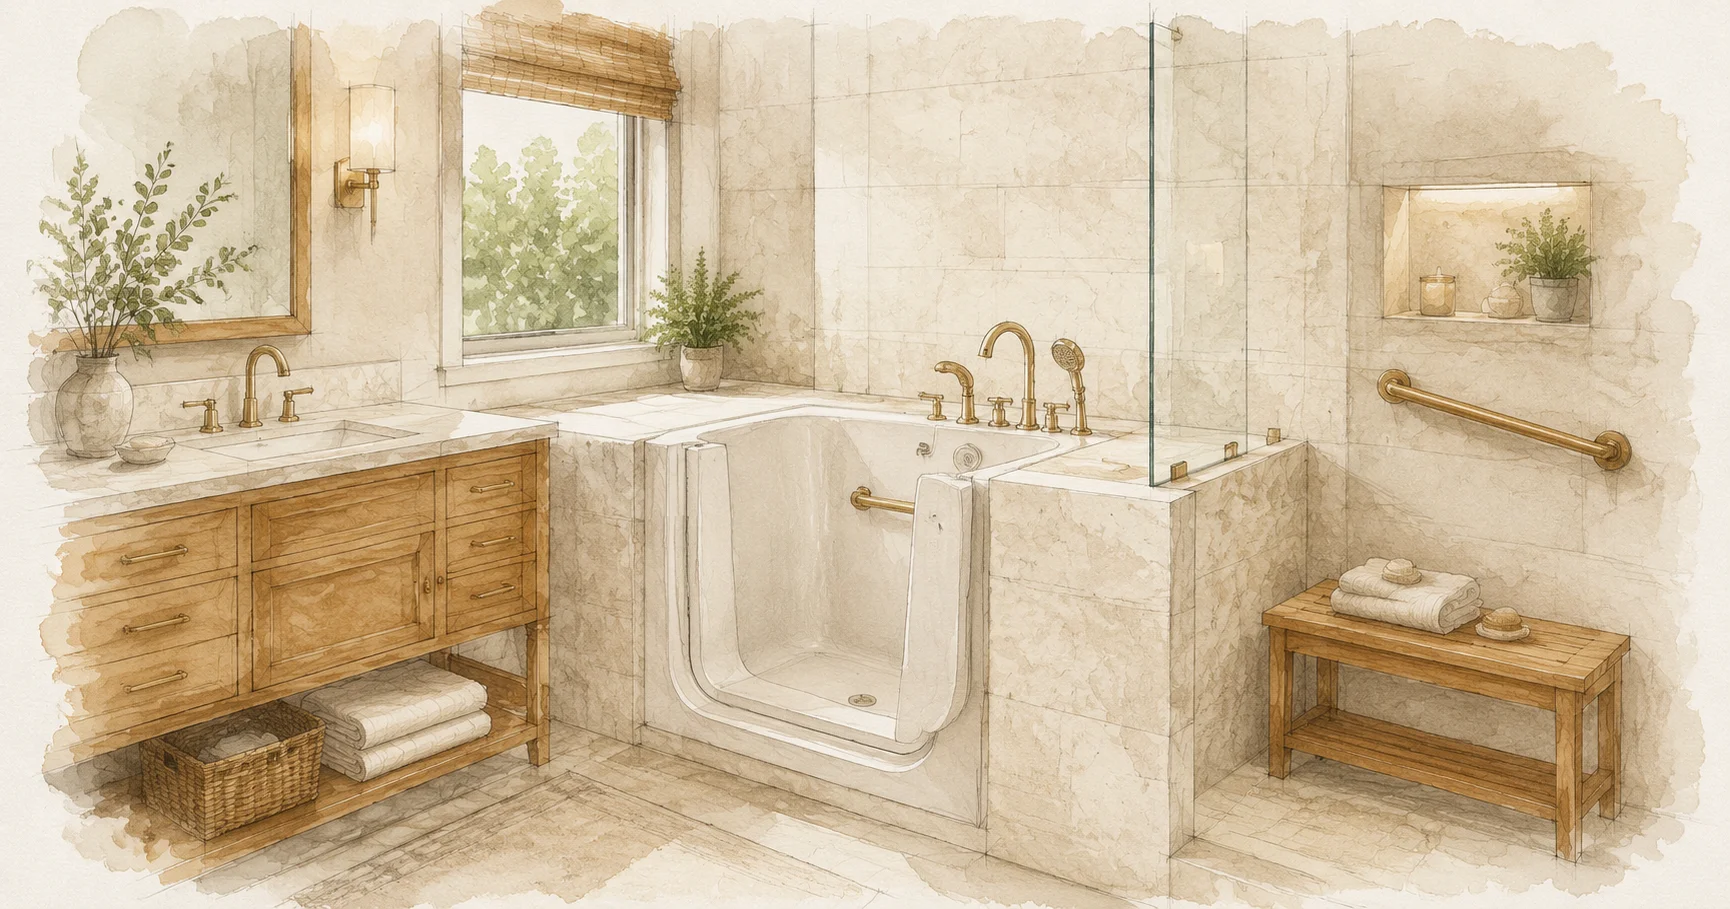
Replacing a standard bathtub with a walk-in shower eliminates the single biggest fall hazard in most bathrooms — the tub wall. Standard tubs require stepping up and over a 14–18 inch barrier while standing on a wet, slippery surface. A walk-in shower with a low or zero-threshold entry removes that obstacle entirely.
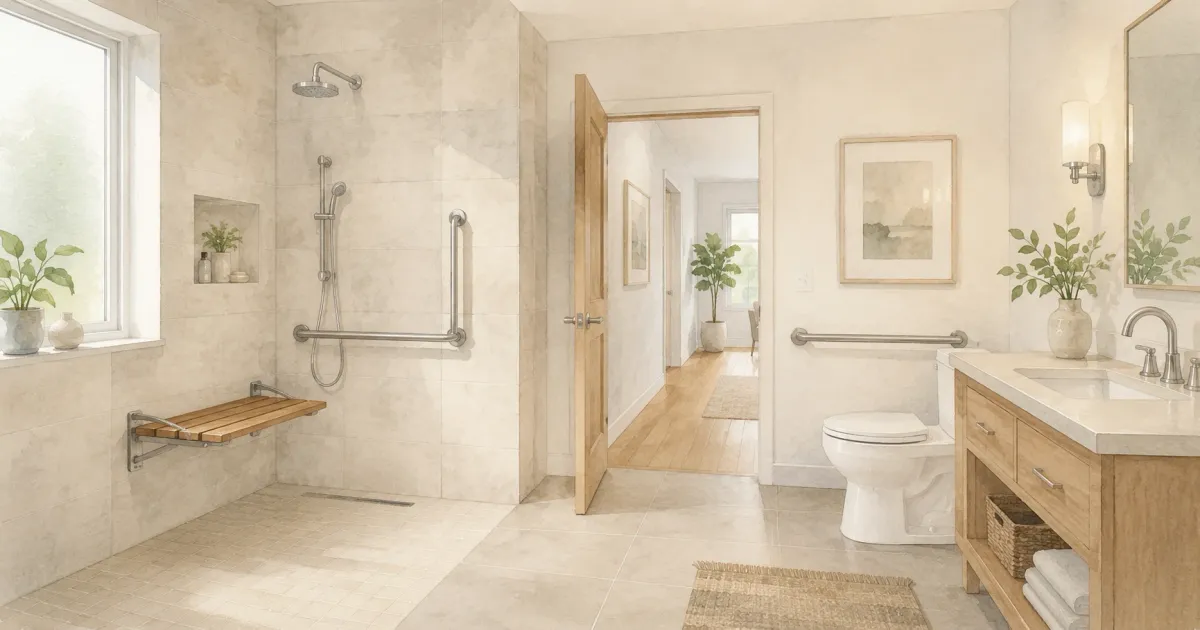
Look for built-in seating (a fold-down bench or integrated corner seat), a handheld showerhead on an adjustable slide bar, and a curbless drain that allows water to flow away from the entry. Large-format slip-resistant tile on the floor and walls keeps the space looking refined while doing real safety work.
- Low or zero-threshold entries
- Built-in seating or fold-down benches
- Handheld showerheads with adjustable height
2. Slip-Resistant Flooring
Slip resistance is rated by a coefficient of friction (COF) — wet-area flooring should meet a minimum COF of 0.60. Textured porcelain tile, slip-resistant luxury vinyl, and rubber flooring all meet this threshold; highly polished or glossy finishes do not. The distinction matters most in the transition zone just outside the shower, where water tracks onto the main floor.
When choosing tile, smaller formats with more grout lines actually provide better grip than large slabs. Matte finishes are both safer and easier to clean than gloss. If you're replacing existing flooring, this is also a good time to eliminate any transition strips or height changes between adjacent rooms.
- Textured porcelain or matte tile with COF ≥ 0.60
- Slip-resistant luxury vinyl or rubber
- No glossy finishes; minimize threshold transitions
3. Grab Bars
Modern grab bars bear no resemblance to the institutional chrome pipes of hospital bathrooms. Today's designs integrate into towel bars, shelving systems, and decorative wall hardware — they blend with any finish and most homeowners' guests never notice them as safety equipment.
Placement matters more than style. The NKBA Bath Planning Guidelines specify exact mounting heights for grab bars near the toilet, inside the shower, and along the approach wall. Bars must be anchored into wall studs or blocking — a properly installed grab bar supports 250 lbs of force. If your walls don't have blocking, that's the single most valuable "phase one" preparation you can make during any bathroom renovation: add blocking behind the drywall now so bars can be mounted anywhere later without opening the walls again.
- Near the toilet (side and rear walls)
- Inside the shower (entry, seating area, opposite wall)
- Along the approach to the shower
4. Comfort-Height Toilet
Standard toilets sit at 15 inches from floor to seat. ADA-compliant or "comfort height" toilets sit at 17–19 inches — closer to chair height — which requires significantly less effort to sit down and stand up from. For anyone with knee, hip, or balance limitations, this is one of the lowest-cost, highest-impact changes available.
Comfort-height toilets are widely available in every style and finish, cost no more than standard models, and are straightforward to swap in without any structural changes. If you're updating one fixture, this is the one to prioritize.
5. Layered Lighting
Poor lighting is an underappreciated fall risk. Older eyes need more light than younger ones, and a single overhead fixture creates shadows that obscure step edges, floor changes, and obstacles. A layered lighting plan addresses this with three types working together.
Bright overhead fixtures handle general visibility. Task lighting near the mirror — ideally at face height rather than above the mirror — eliminates shadow on the face during grooming. Motion-sensor night lights in the baseboard or toe kick illuminate the path for nighttime use without requiring the overhead light to be switched on. All three together create a bathroom that's safe to navigate at any hour.
6. Wider Doorways and Clear Pathways
Standard bathroom doorways are 24–28 inches wide — too narrow for a walker and impossible for a wheelchair. ADA guidelines recommend a minimum clear opening of 32 inches; 36 inches is preferable. Widening a doorway is a structural change but not a complicated one, and it has an outsized impact on usability.
Inside the bathroom, keep a clear floor space of at least 30 × 48 inches adjacent to each fixture to allow a mobility aid to be positioned and moved. Avoid in-swing doors that eat into that space — pocket doors or barn-style hardware are cleaner solutions that preserve every square inch.
Phased Approach to Remodeling
A full accessible bathroom remodel doesn't have to happen all at once. Breaking improvements into phases lets you start reducing risk immediately while working toward a complete renovation over time.
Phase 1 — Low-Cost, Immediate Updates
- Add non-slip bath mats inside and outside the shower
- Install grab bars in key locations (requires blocking; add blocking first if not present)
- Upgrade to brighter LED lighting and add motion-sensor night lights
- Swap to a handheld showerhead on an adjustable slide bar
Phase 2 — Mid-Level Upgrades
- Replace flooring with slip-resistant materials
- Upgrade to a comfort-height toilet
- Install a walk-in shower with built-in seating
- Add a vanity with knee space for seated use and better-organized storage
Phase 3 — Full Remodel
- Widen the bathroom doorway to 32–36 inches
- Reconfigure the layout for full wheelchair accessibility
- Install a curbless, zero-threshold shower
- Add heated non-slip floors and smart lighting controls
This sequence protects your investment at each stage — the Phase 1 improvements remain useful through Phase 3, and each upgrade builds on the last.
Choosing the Right Contractor
The right contractor for an aging-in-place remodel understands both the building code requirements and the human factors behind accessible design. In Minnesota, structural bathroom changes — moving walls, widening doorways, relocating plumbing — typically require permits through your local building department. A contractor familiar with this process will pull permits correctly and ensure the work passes inspection.
Beyond licensing and code knowledge, look for someone who has completed aging-in-place or ADA-accessible projects and can show before-and-after examples. Ask whether they're willing to coordinate with an occupational therapist if the homeowner has specific mobility needs — that collaboration produces better outcomes than either discipline working alone. Clear, consistent communication throughout the project matters just as much as technical skill; this type of remodel often involves the homeowner or a family member in every decision.
Bathroom Safety Checklist
Use this list to evaluate your current bathroom and identify the most urgent upgrades:
- Non-slip flooring installed (COF ≥ 0.60)
- Grab bars near toilet and in shower, anchored to studs or blocking
- Walk-in shower or tub-to-shower conversion completed
- Comfort-height toilet (17–19 inches) in place
- Layered lighting with overhead, task, and night lights
- Doorway at least 32 inches wide with clear floor space at each fixture
- Shower seating available (built-in bench or fold-down)
- Handheld showerhead on adjustable slide bar
- Clear, unobstructed pathways with no threshold transitions
- Easy-to-reach storage for daily items
Design Now for Safety and Independence
An aging-in-place bathroom remodel is one of the most important investments a homeowner can make — and one of the most satisfying, because the result is a space that's genuinely better to use every day, not just in an emergency.
At Honey-Doers Remodeling, we've helped Twin Cities homeowners across Lakeville, Bloomington, and the South Metro design bathrooms that combine accessibility, durability, and style. Whether you need a walk-in shower conversion, strategically placed grab bars, or a full layout reconfiguration, we'll guide you through every step. Contact us today to schedule a consultation and start planning a bathroom that works for the long haul.